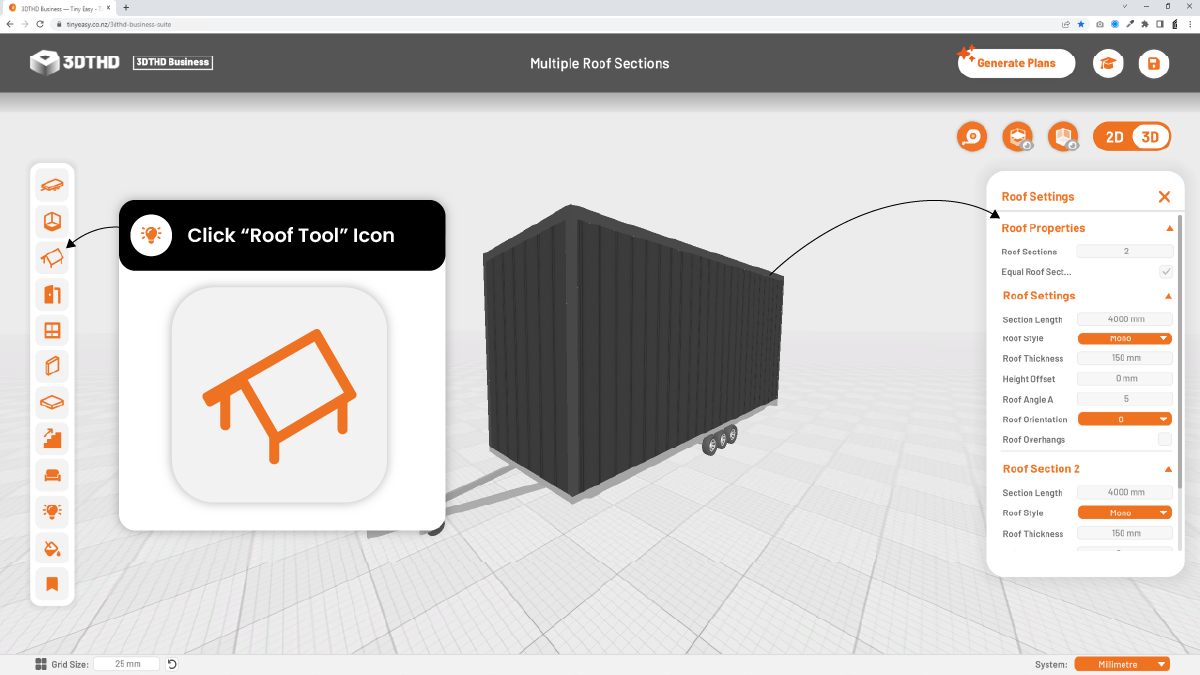
Roof Tool
Welcome to the Roof Tool, a powerful and intuitive addition to the She Tool that simplifies the process of creating and modifying your roofs. With this tool, you can generate multiple roof sections and configurations with ease.
So let's get into it!
Roof Sections
A Roof Section is a part of the roof which can be modified with different properties. Combining multiple roof sections with different styles allows you to create any roof shape for your tiny house design.
Roof Sections
Here you can enter the number of roof sections for your tiny home.
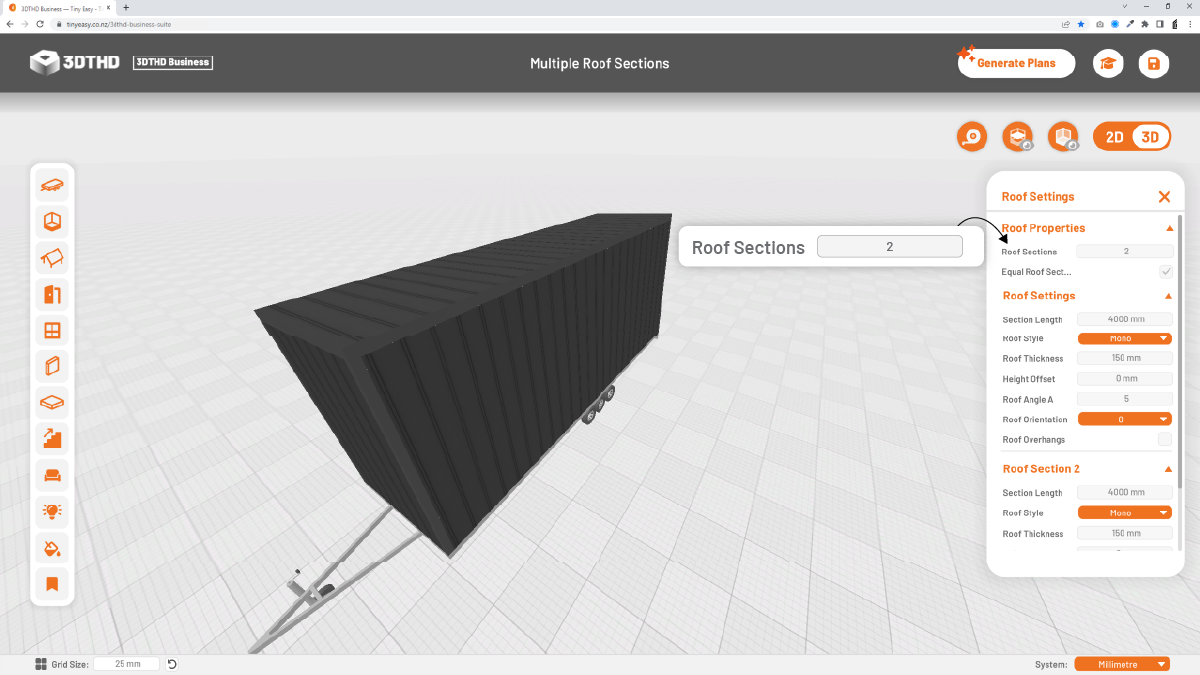
Adding 2 Roof Sections will create an additional section labeled "Roof Section 2" in the Roof Settings Menu. If you add a 3rd section it will create another section "Roof Section 3" and so on.
Equal Roof Sections
Equalize the length of all roof sections over the length of the roof.

Roof Settings
Whether you're opting for a simple roof, or you're looking to spice things up with multiple roof sections, let's see how you can make adjustments with some additional settings. 😄
Section Length
Adjust the length of the roof section to your liking.
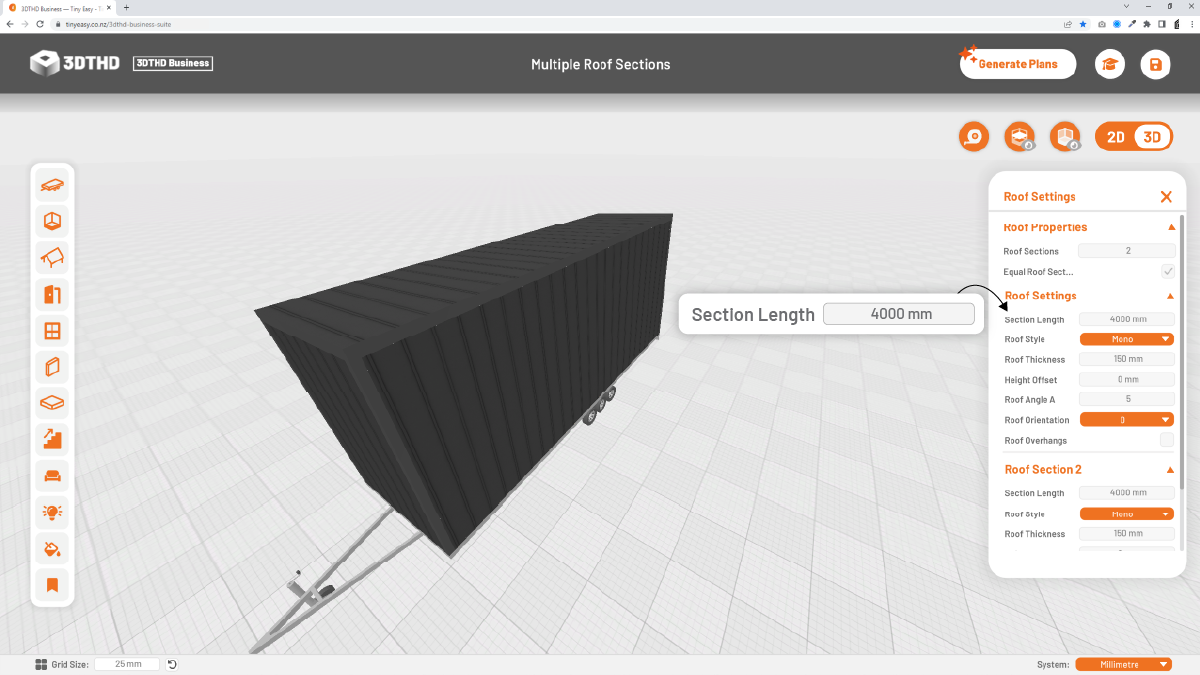
If you have more than one roof section, the last roof section’s length is determined by the length of the total roof minus all other roof sections combined.
Let’s say your roof is 8000 mm long and the first roof section is set to 4500mm, then the last roof section will be automatically set to 3500 mm.
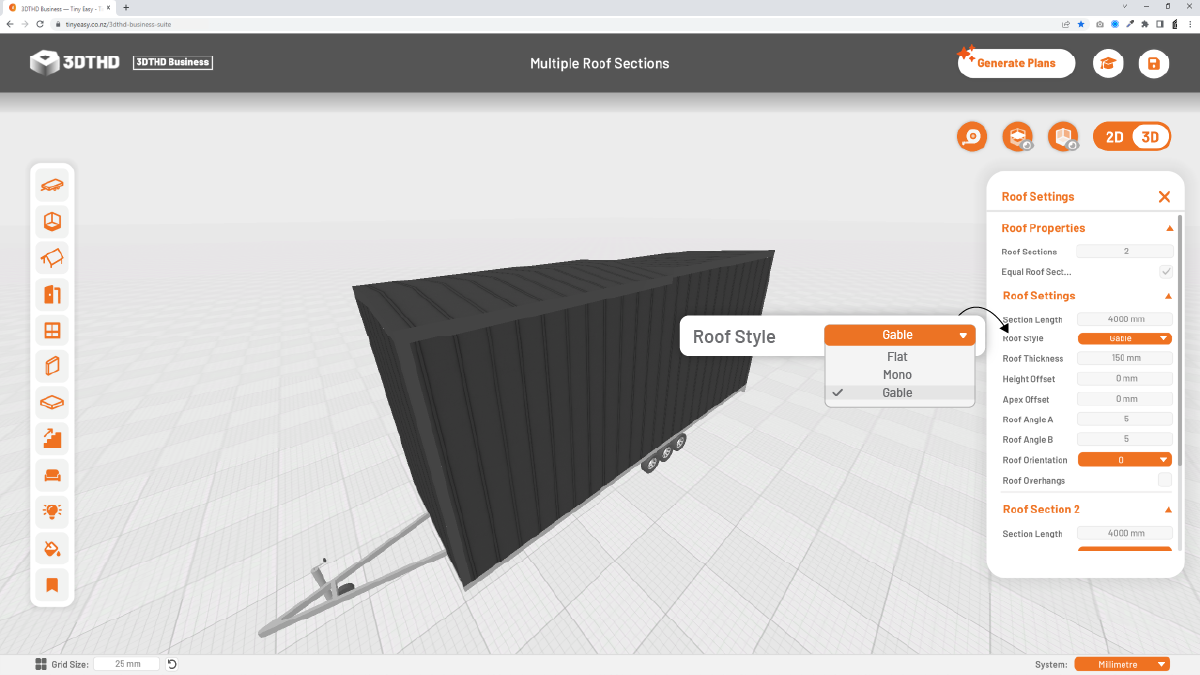
Roof Style
Choose from Mono, Gable, or flat roof styles to define the roof shape of your tiny house.
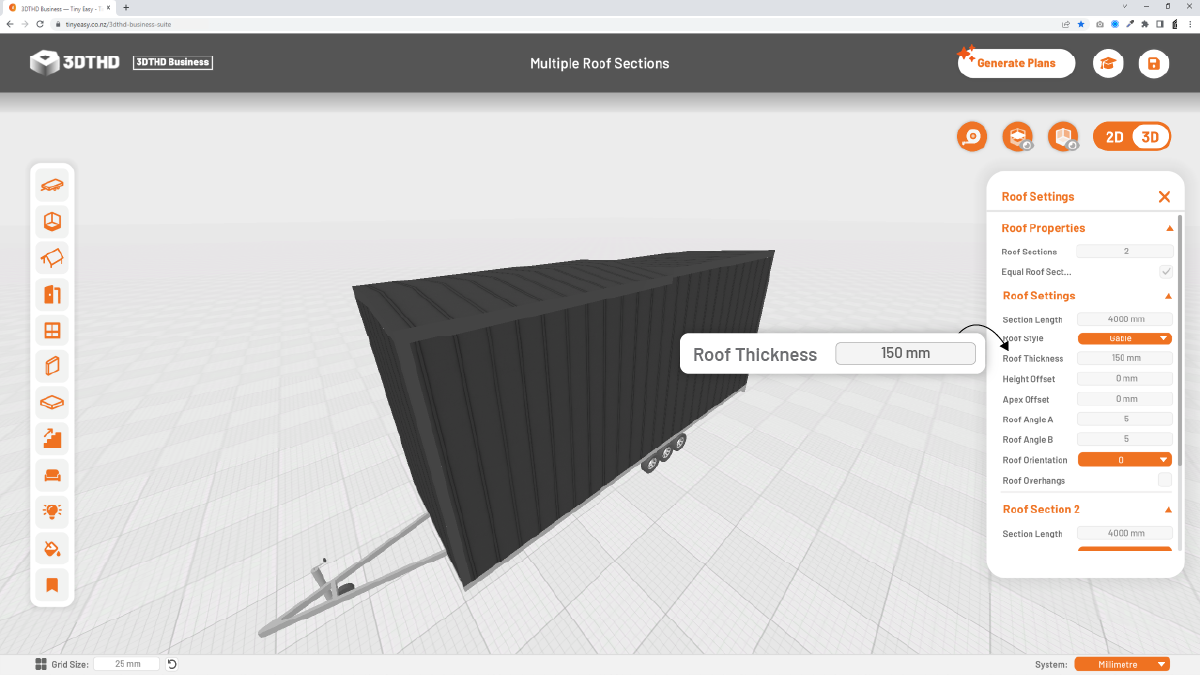
Roof Thickness
The roof thickness is defined by the total thickness of all building materials you will use to build up your roof structure. E.g. interior lining, framing, sheathing, and roofing. The roof thickness is added “below” the highest point of the roof, so it doesn’t increase the total height of the tiny house, but instead reduces the interior room height to stay within regulations.
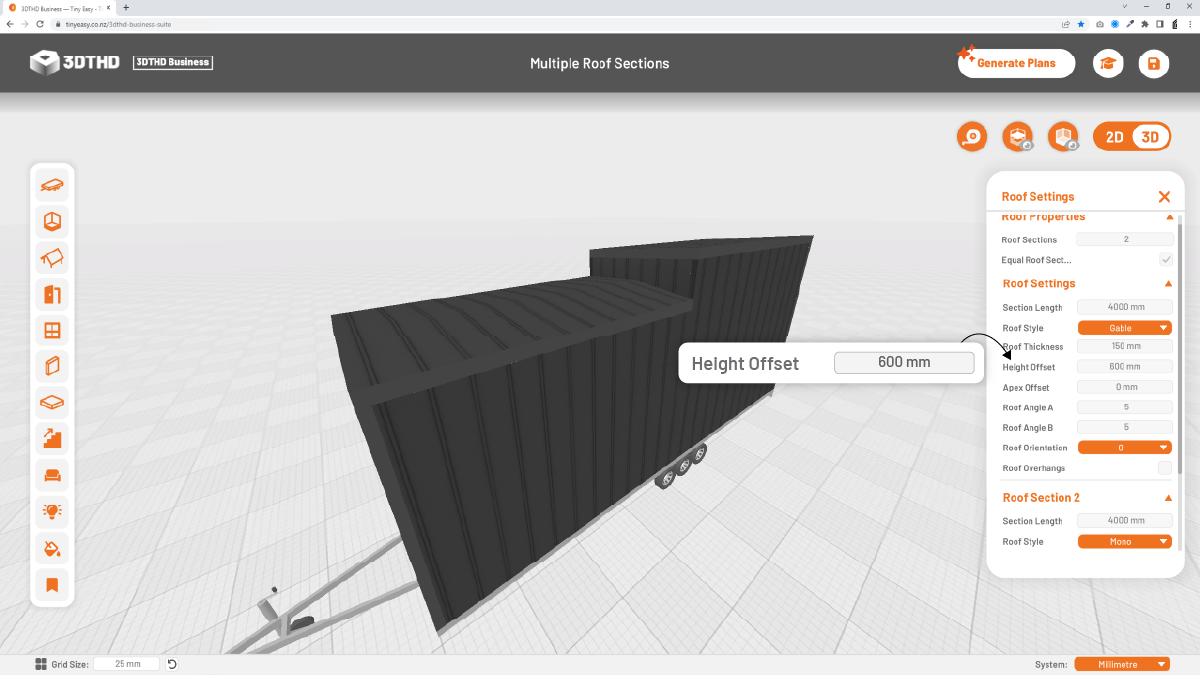
Height Offset
Lower the tiny house roof height if you need to offset it for any reason.
Apex Offset
Offset the apex to the right if you want to create an asymmetrical gable roof design. You can flip the offset later by modifying the roof orientation as explained below in Roof Orientation.

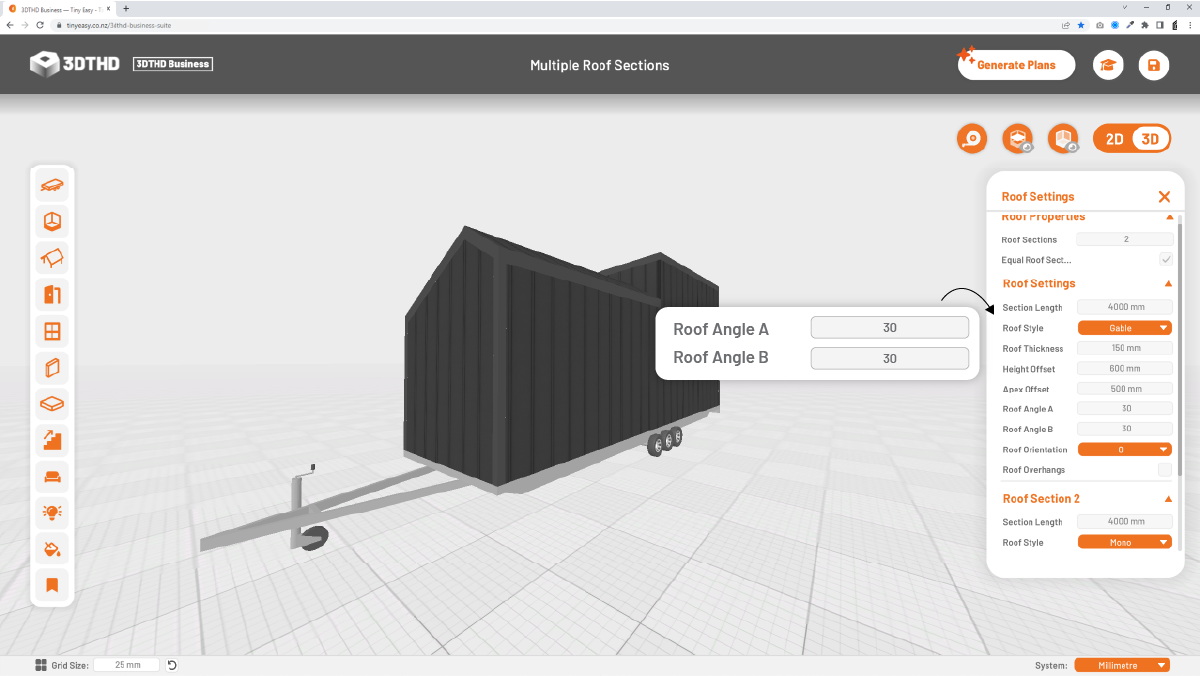
Roof Angles
Enter the roof pitch in degrees to define your tiny home’s roof slope. Roof Angle A defines the left slope, Roof Angle B defines the right slope (if available by selecting the Gable roof type).
Roof Eave Height - 🌟NEW🌟
19/04/23
You may already be familiar with the roof settings, but we've included an additional setting which can help you define the exact height of your roof eave height to create cleaner dimensions for your tiny house model.
To adjust the Eave Height:
- Go into the Roof menu and below Roof Angle you will find two sections:
- Eave Height A
- Eave Height B
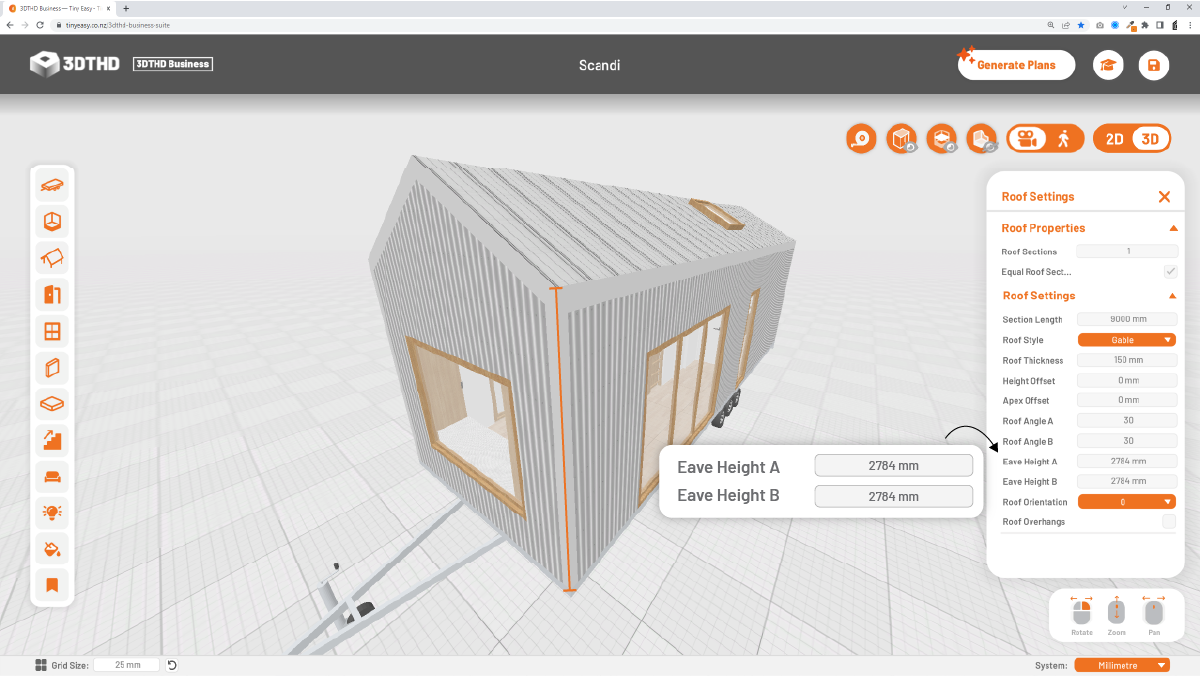
- The Eave Height will automatically show you the dimensions depending on your roof style. Here you can manually adjust the dimensions to your specific requirements.
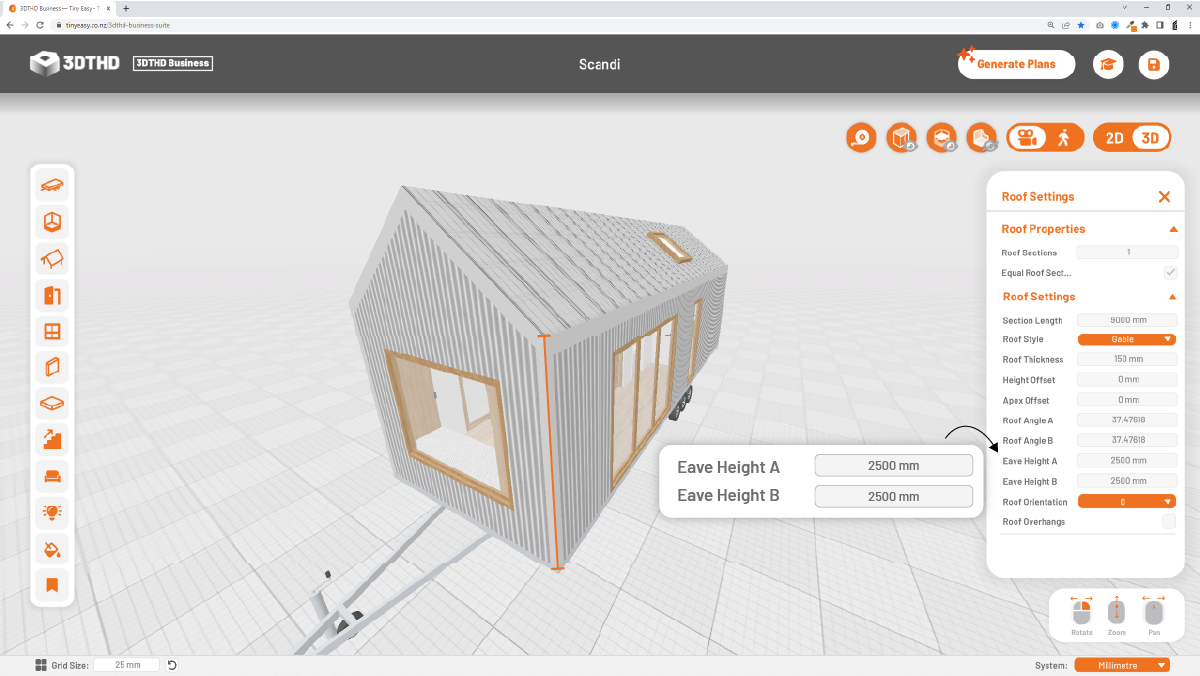
This feature is great if you want to produce clean, even numbers so when you export your plans to build off, you're not left with odd dimensions like, 2784mm.
Available for both mono and gable roof styles.
Roof Orientation
You can use this to rotate the roof if you want to have a gable or monoslope the long way or flip your Apex Offset to the left.

| Roof Orientation | Degrees |
|---|---|
| 1 | 0 Degrees |
| 2 | 90 Degrees |
| 3 | 180 Degrees |
| 4 | 270 Degrees |
Roof Overhang
Add roof overhangs to any side of your tiny house by checking the “Roof Overhang” tickbox. This will reveal 4 new options to add overhangs to the front, back, right and left sides of the tiny house.
Enter any desired length to add these overhangs.
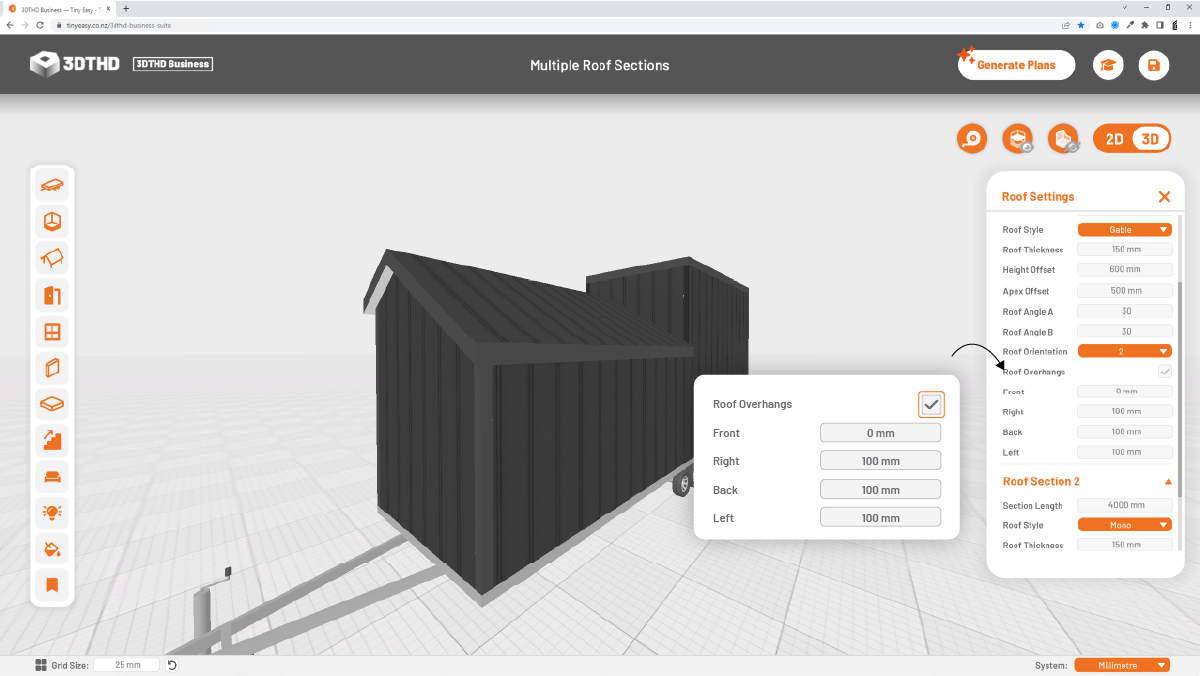
When you add a roof overhang on the right or left side of your tiny house, make sure you still comply with the maximum width regulations of your local road code.